


Ever wondered if clip-in extensions work on thick hair? How to blend clip-in extensions with thick hair, or a blunt haircut? Then this post is for you. Having naturally thick hair is great! But... it doesn’t mean that you don’t have any hair concerns, or even just want to switch up your look. Clip-in Extensions can be used for a ton of different reasons like adding length, colour and concealing damaged hair, not just for volume.
The beauty of clip-in extensions is that they can be applied by yourself, from the comfort of your own home. Perfect for elevating your look, whether it’s brunch or a birthday. If you’re new to the world of clip-in extensions, don’t worry. We’ll go through exactly how to clip in extensions on thick hair, step by step.
What type of extensions are best for thick hair?
For a natural blend, your hair extensions should match the thickness of your natural hair and be no longer than 6” past your normal hair length. We suggest using our Double Hair Set clip-in extensions, these are our fullest and thickest clip-in extensions, weighing 180g-290g depending on the length.
It’s important to use 100% Real Remy human hair extensions because it will behave just like your normal hair, giving you the most natural and discreet blend. Real Remy human hair can also be washed and styled just like your natural hair, making it easier for you to maintain and blend with your hair.
What you’ll need
- Double Hair Set Clip-in Extensions
- Beauty Works Clips
- Beauty Works Bristle Brush
- Beauty Works Super Hold Hairspray
- Hair grips
- Mini elastic hair ties
- Backcomb brush
STEP 1
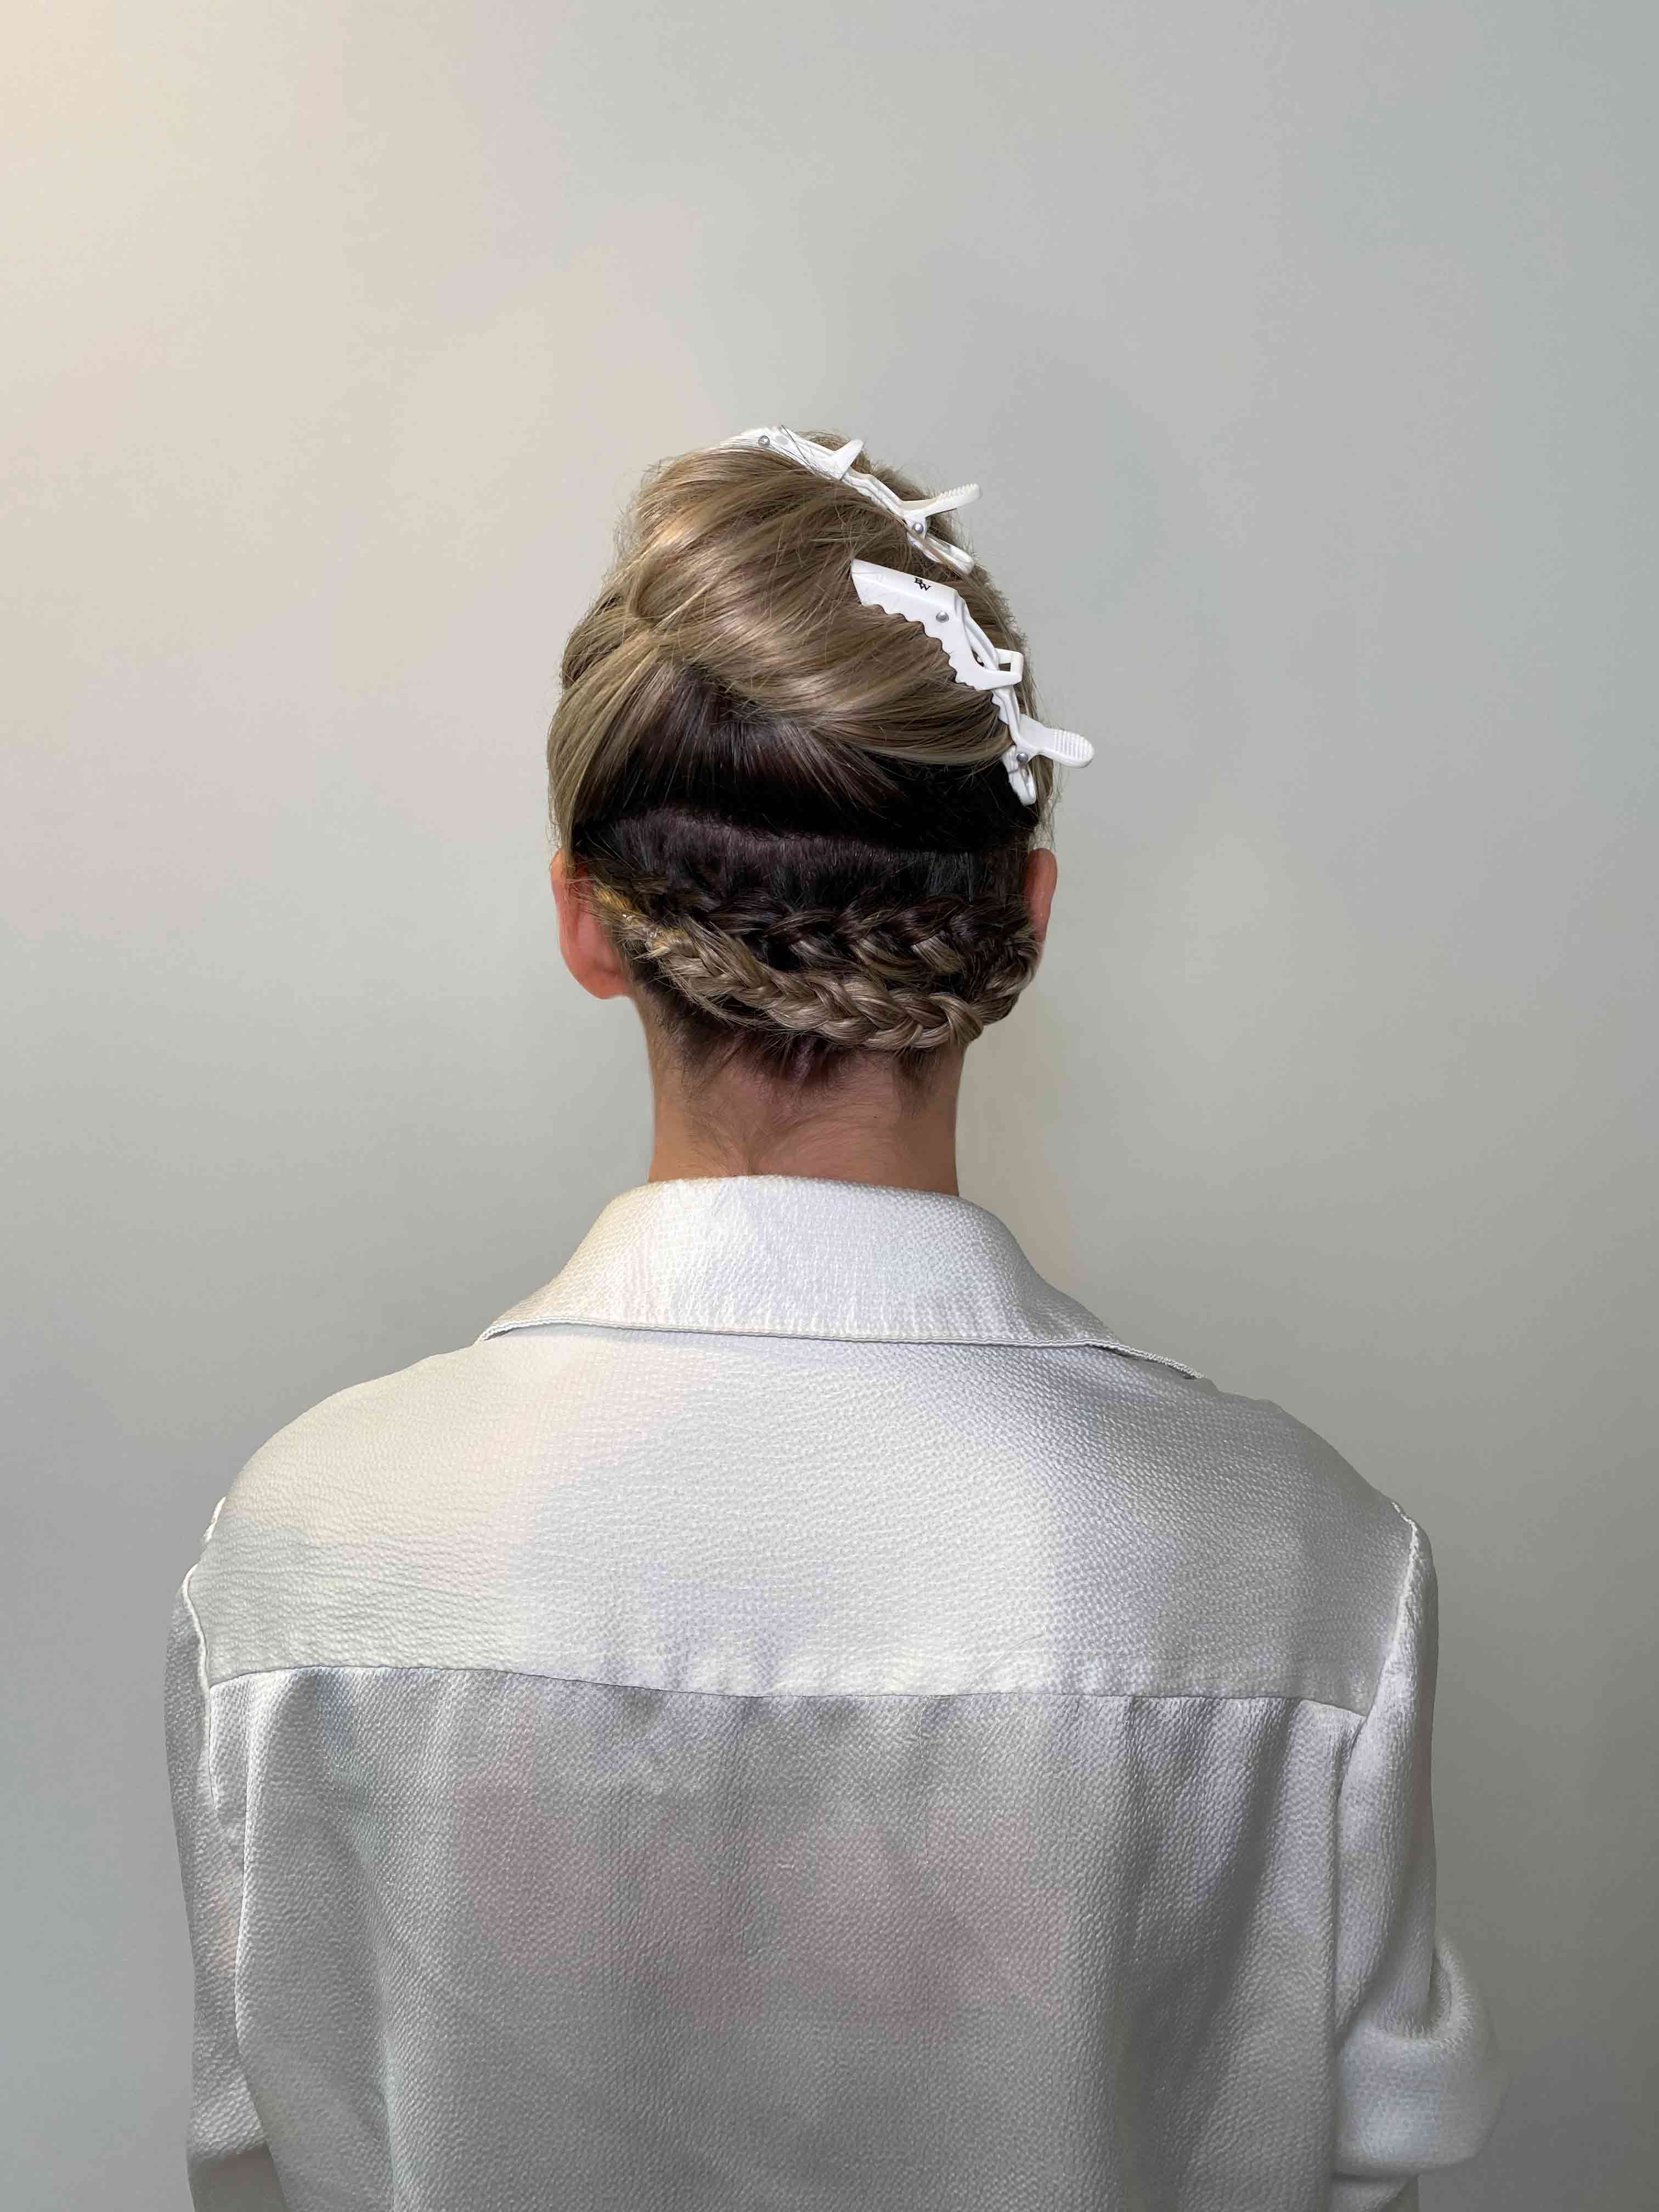
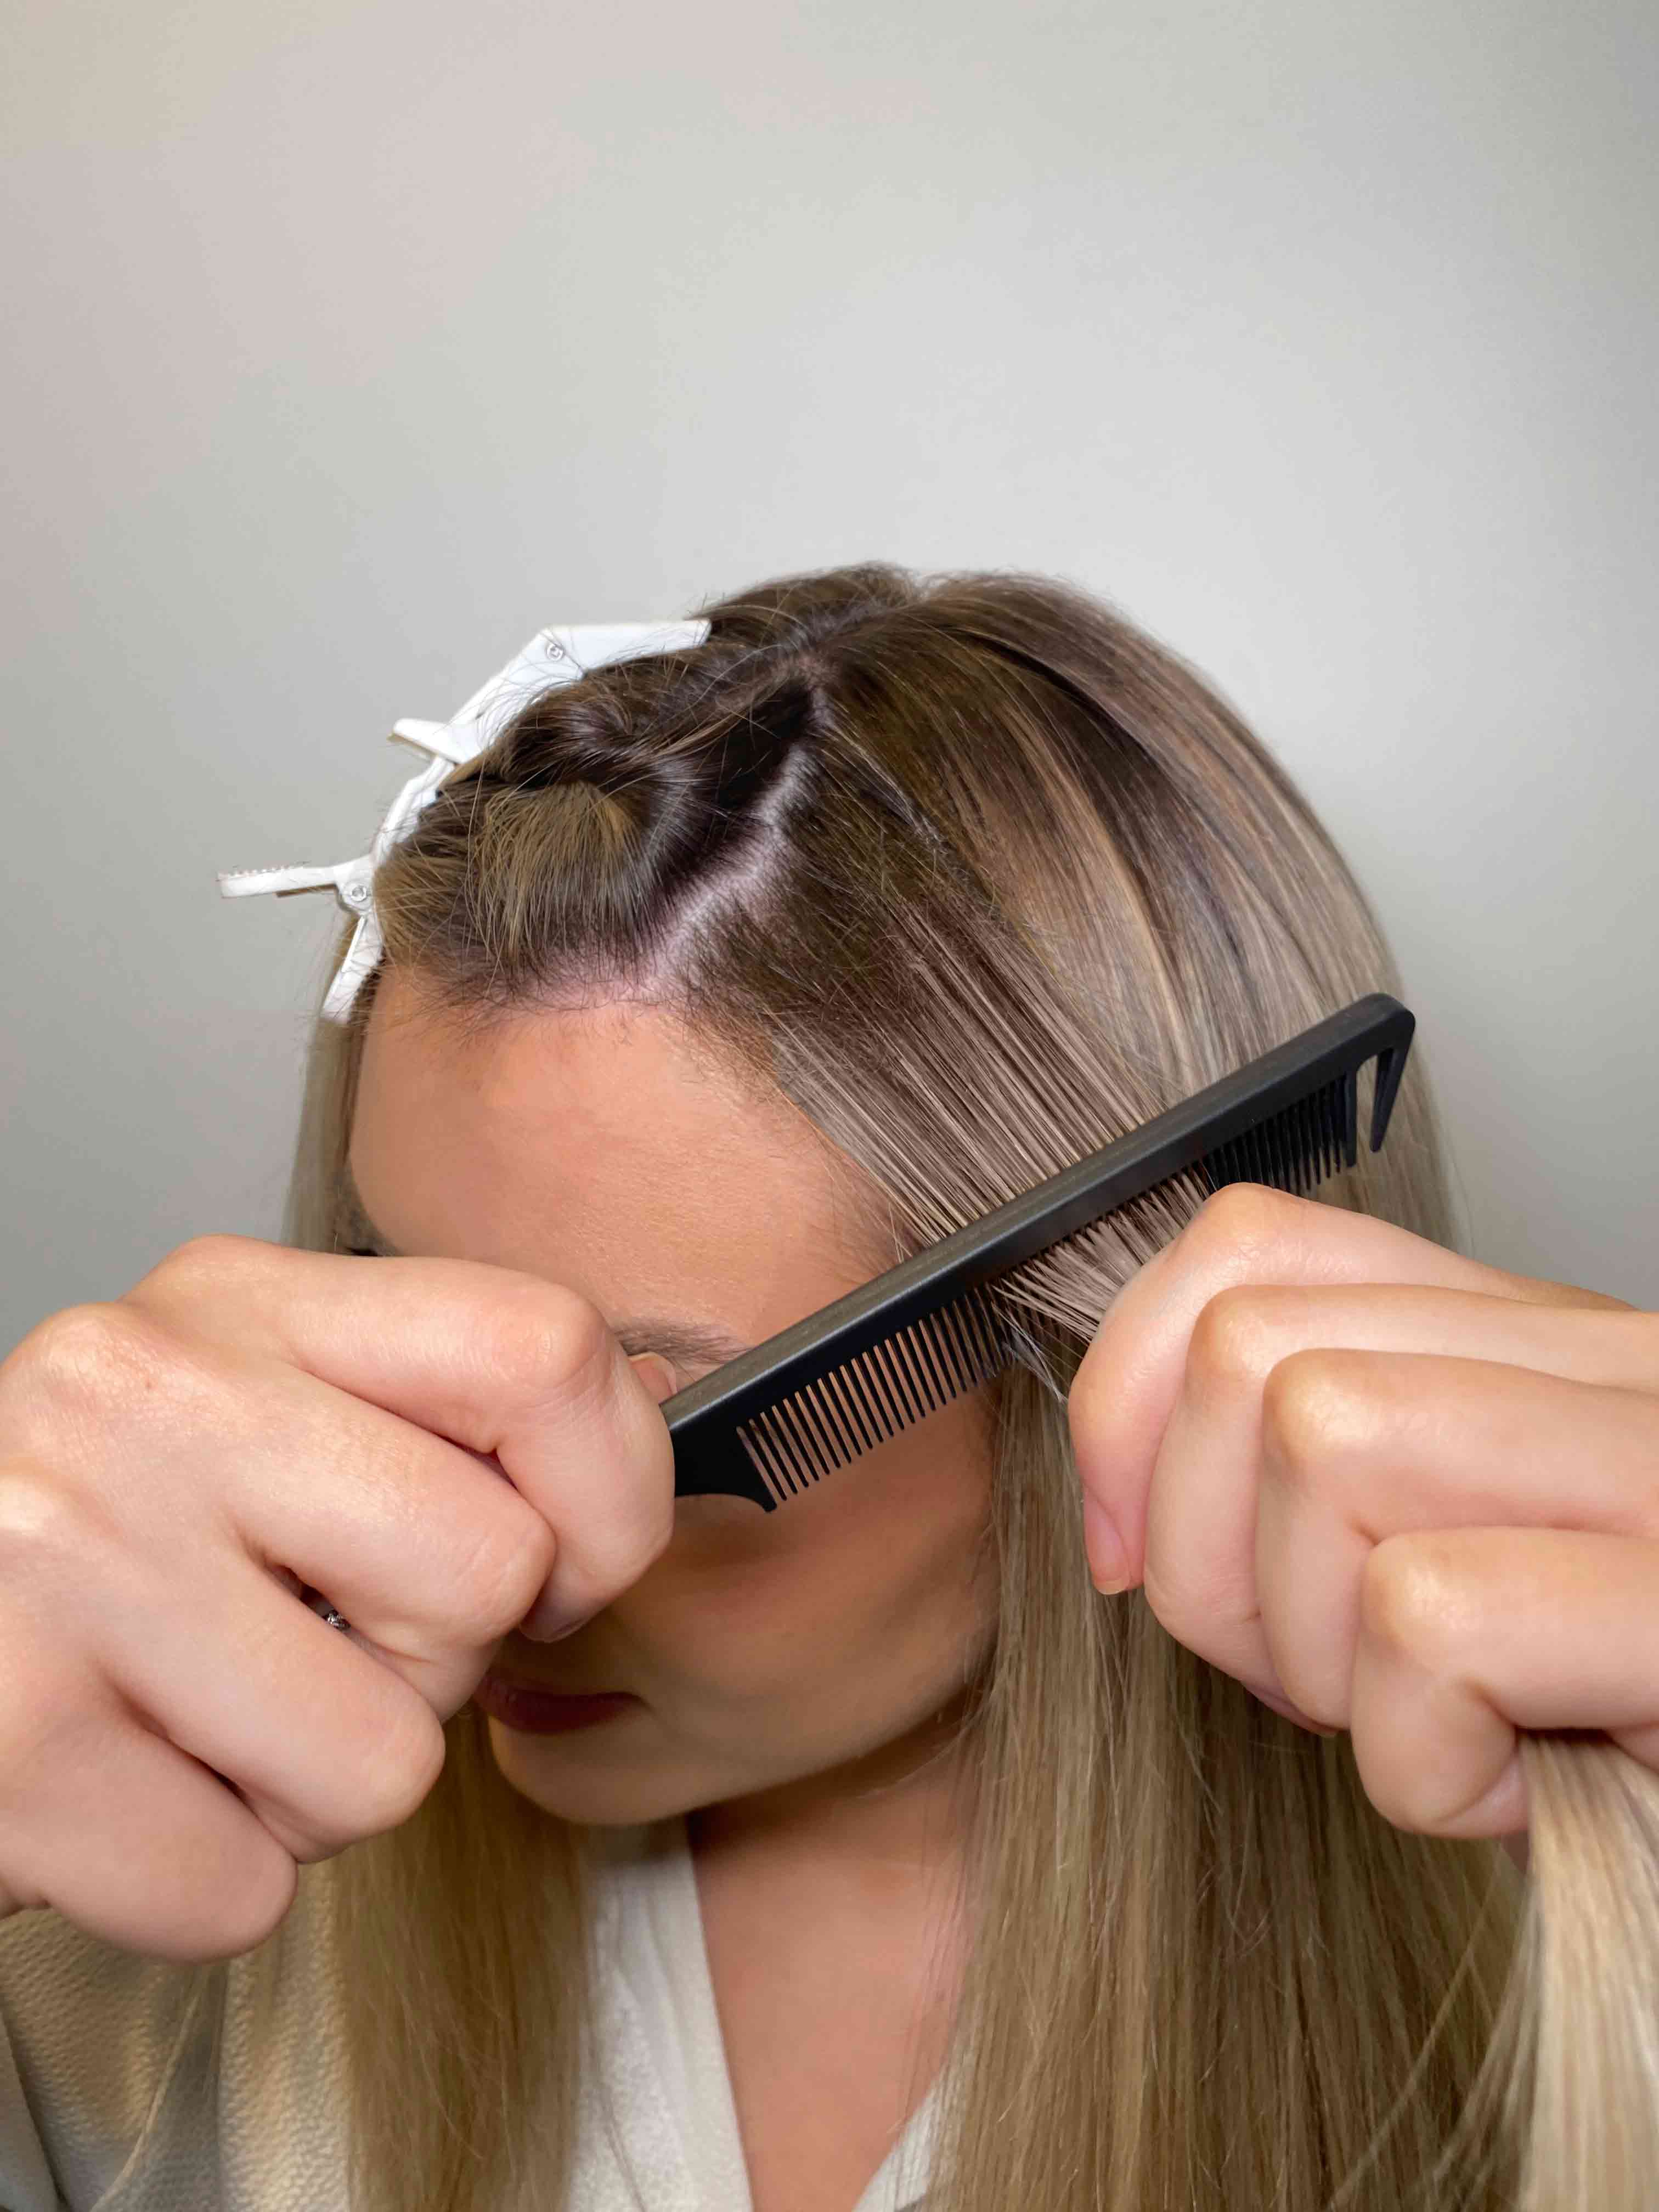
Start by sectioning the bottom layer of your hair from the nape of your neck and clip the rest of your hair up. For thicker and shorter hair types, a professional hair hack here is to braid the bottom layer of your hair. Hairstylists use this hack on shoots & in salons. By braiding the bottom section of hair, less of your natural hair will be down so it helps to avoid a harsh line between your natural hair and extensions.
All you need to do is braid the bottom layer of hair and secure it with a small elastic band. Once secure, pin the braid as flat as possible to your head with hair grips. A french braid works best here, so if you can do it yourself or ask someone else to do it that’s great! But if not don’t worry, you can just create a tight braid yourself and use a few more pins to make sure it’s secure.
STEP 2
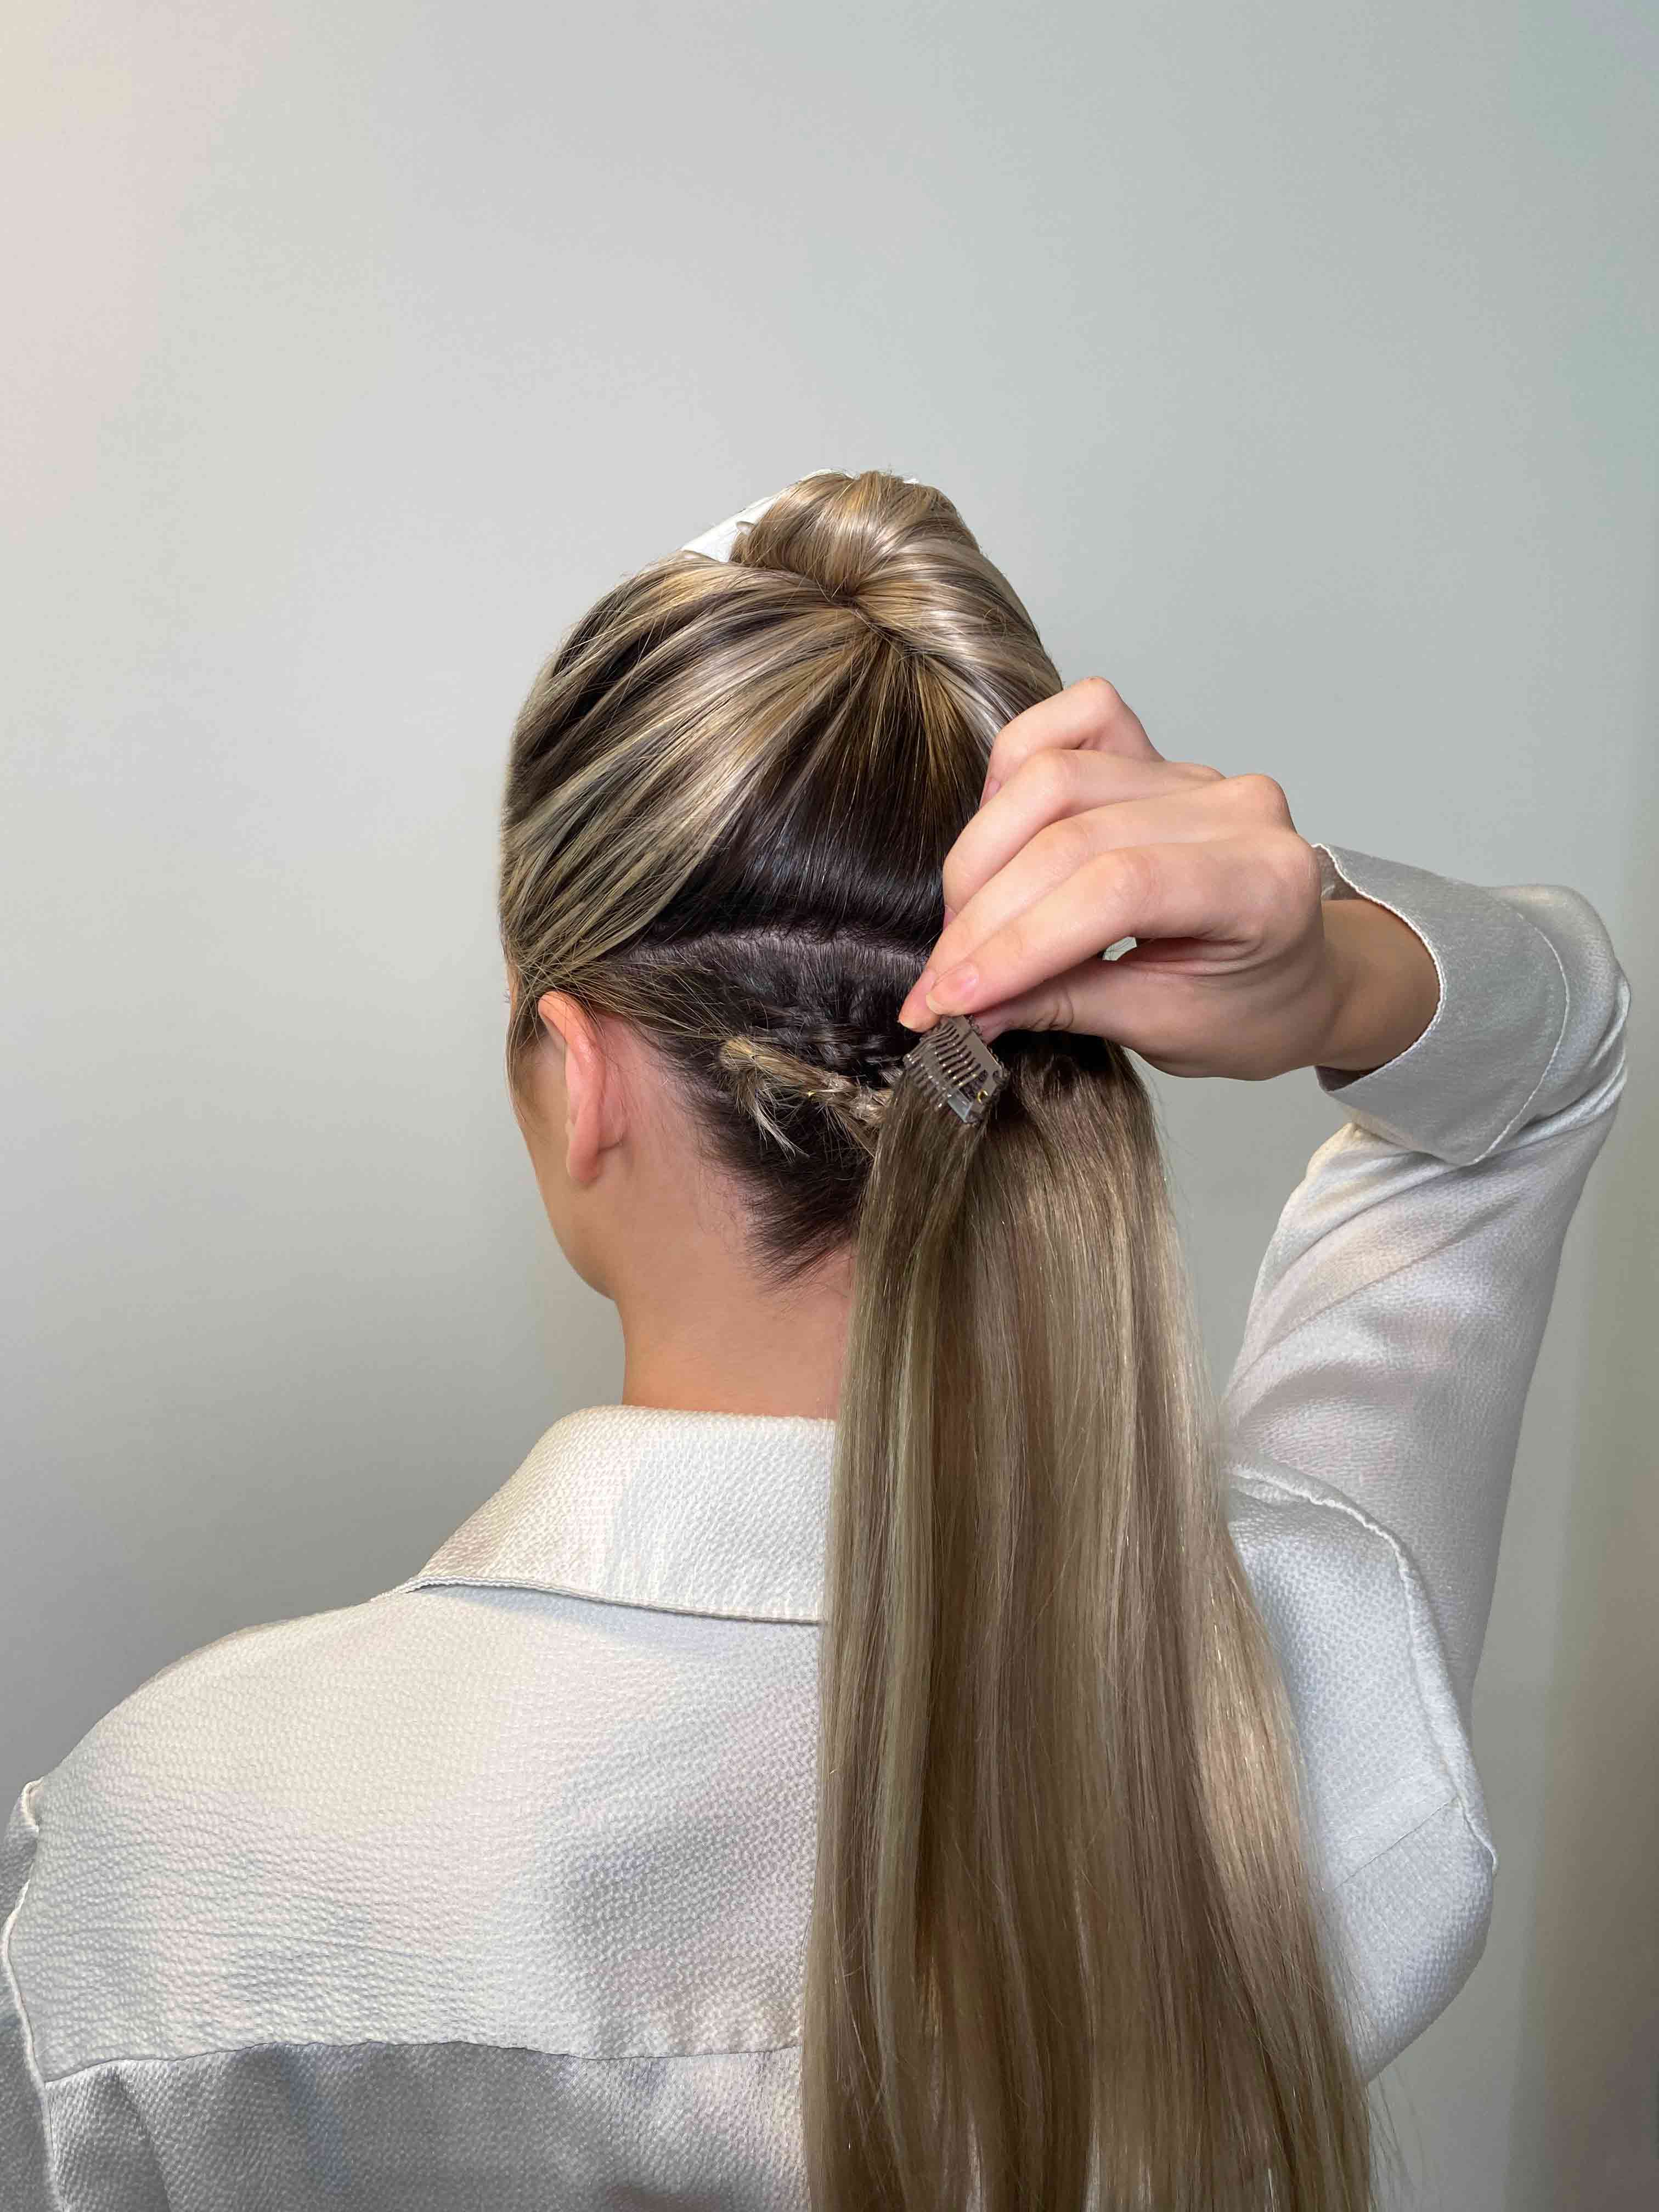
Now you can start clipping in your extensions! To conceal that braid, clip your first weft piece just above the braid, this will also make a secure base for the weft piece.
STEP 3
Now all you have to do is repeat sectioning the hair and adding the larger wefts to the back of your head.
STEP 4
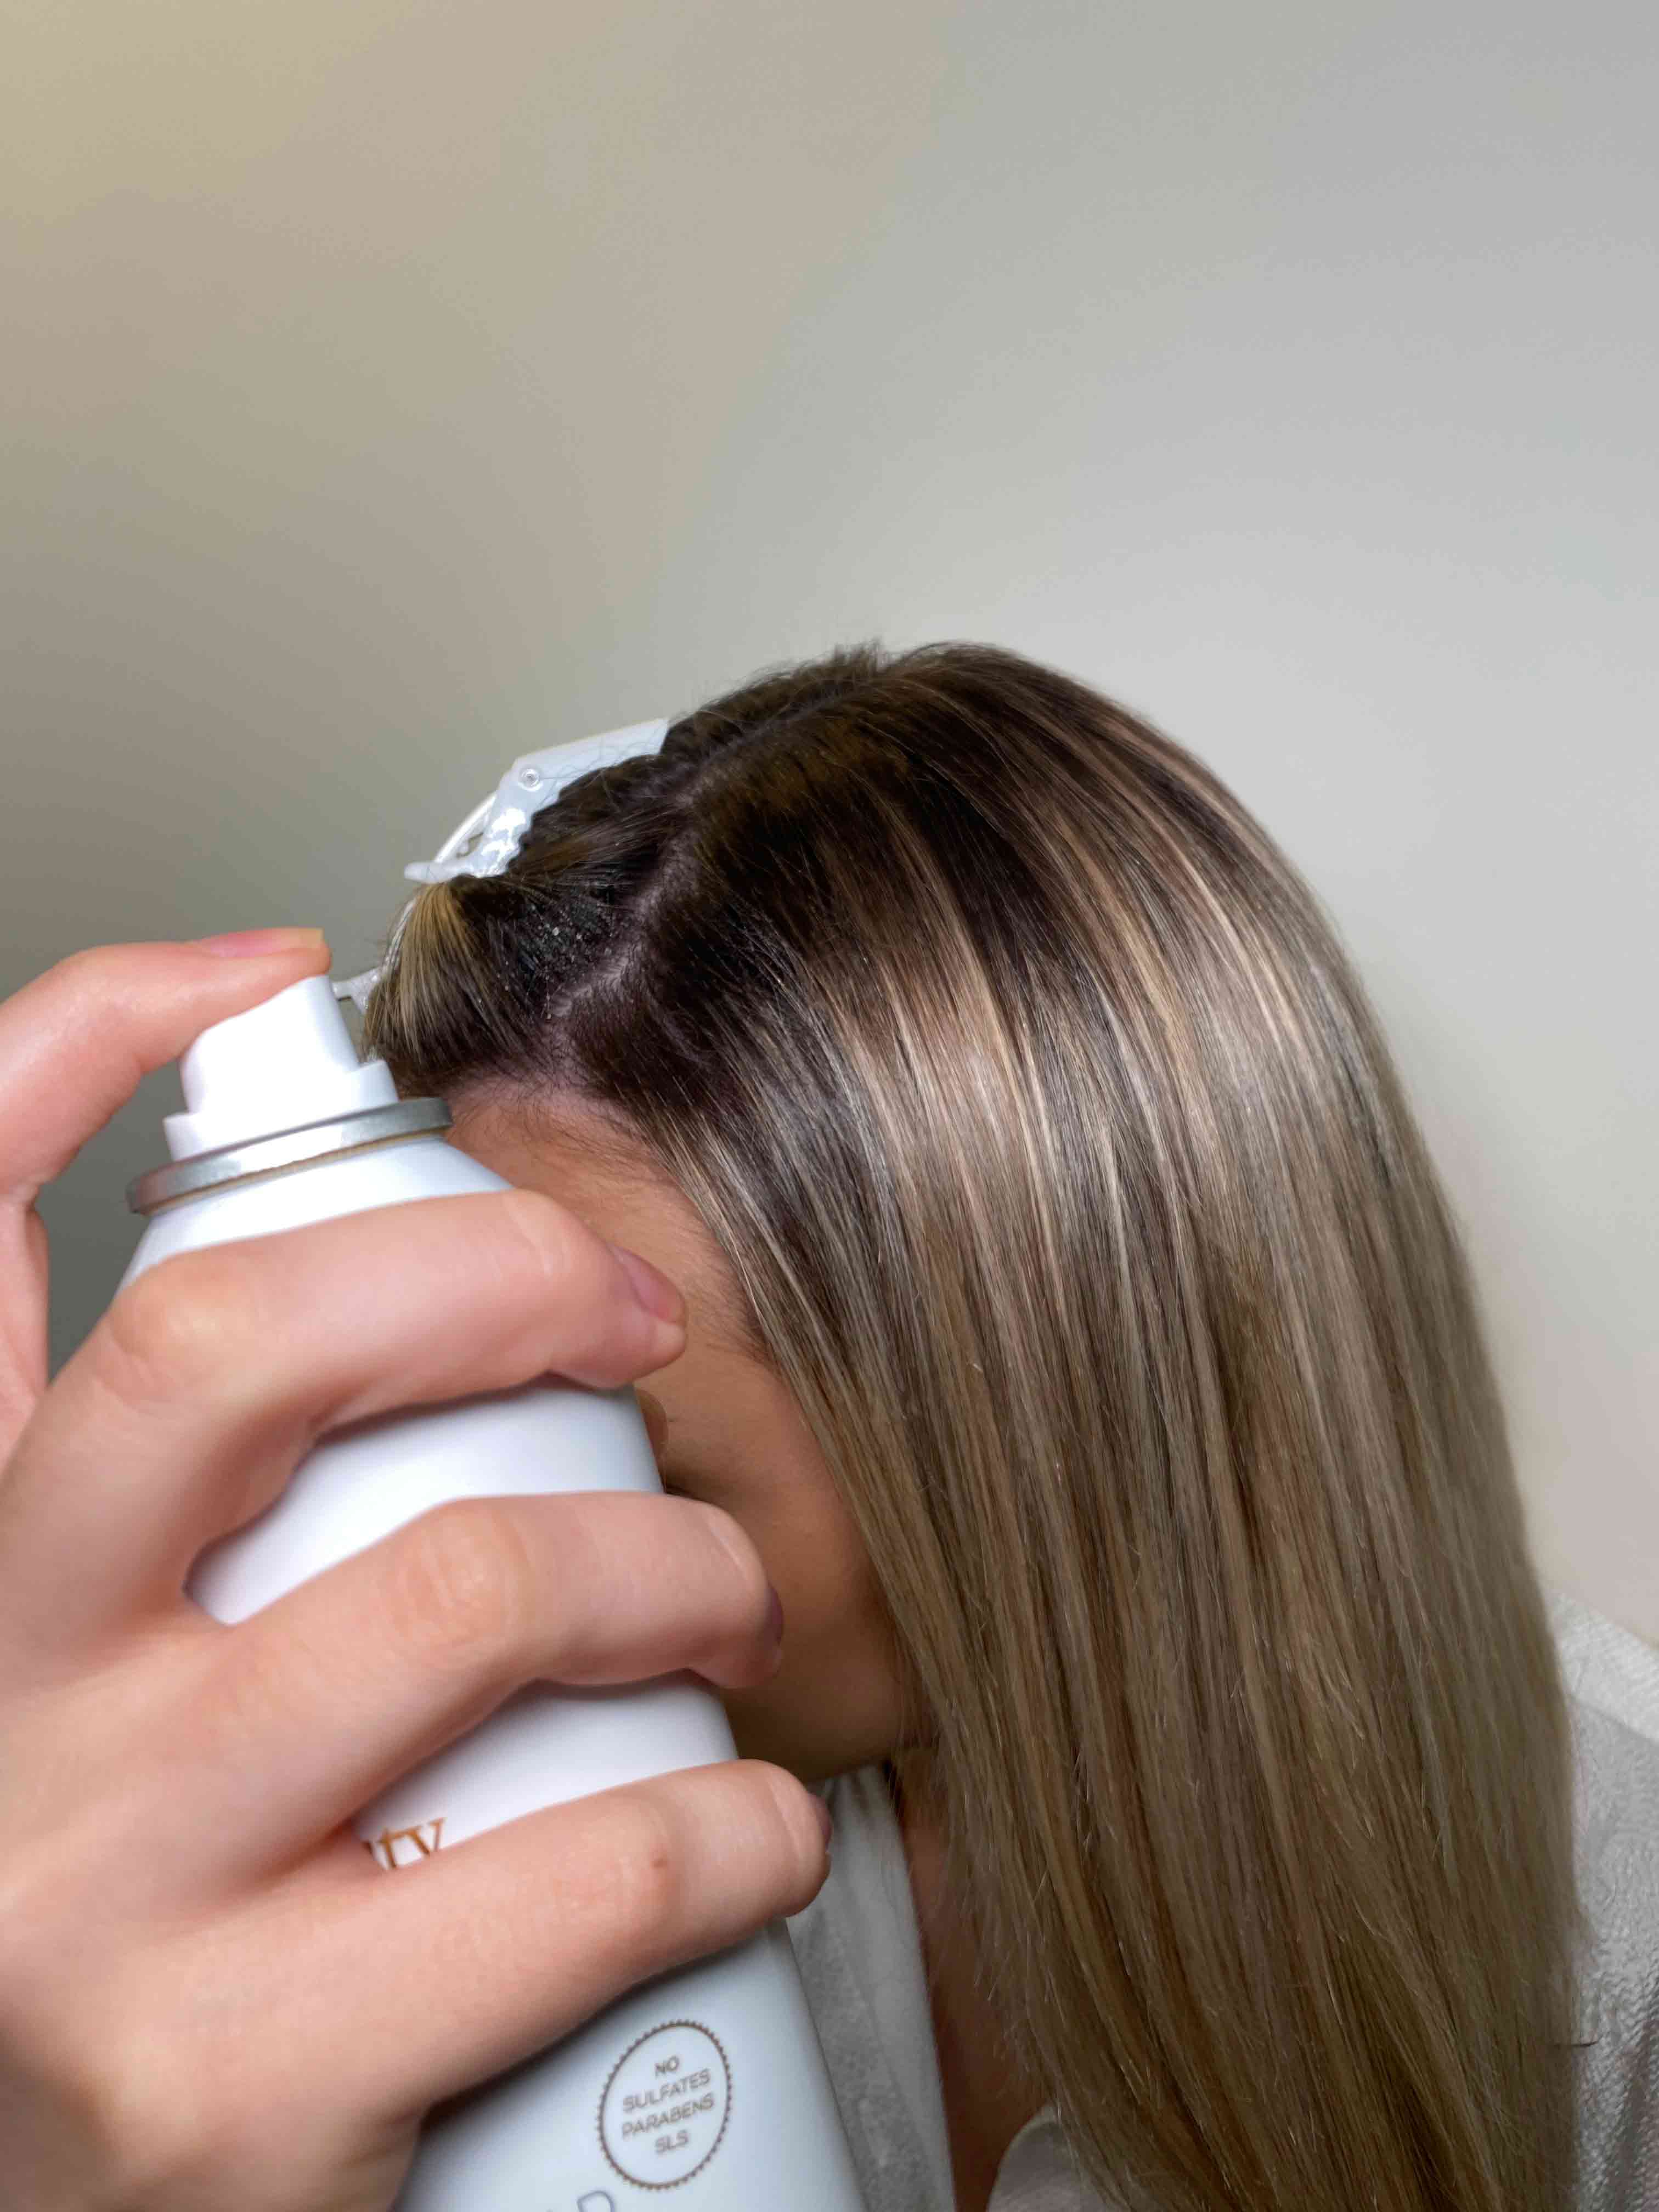
Once you’ve added all the larger wefts to the back of your head, you’ll be left with 2 small pieces from the Double Hair Set to add to the front of your head on each side. For some extra volume at the front, backcomb and spray your hair at the root before clipping in the smaller weft pieces. (Top Tip: For extra hold, this can be done when applying each weft).
STEP 5
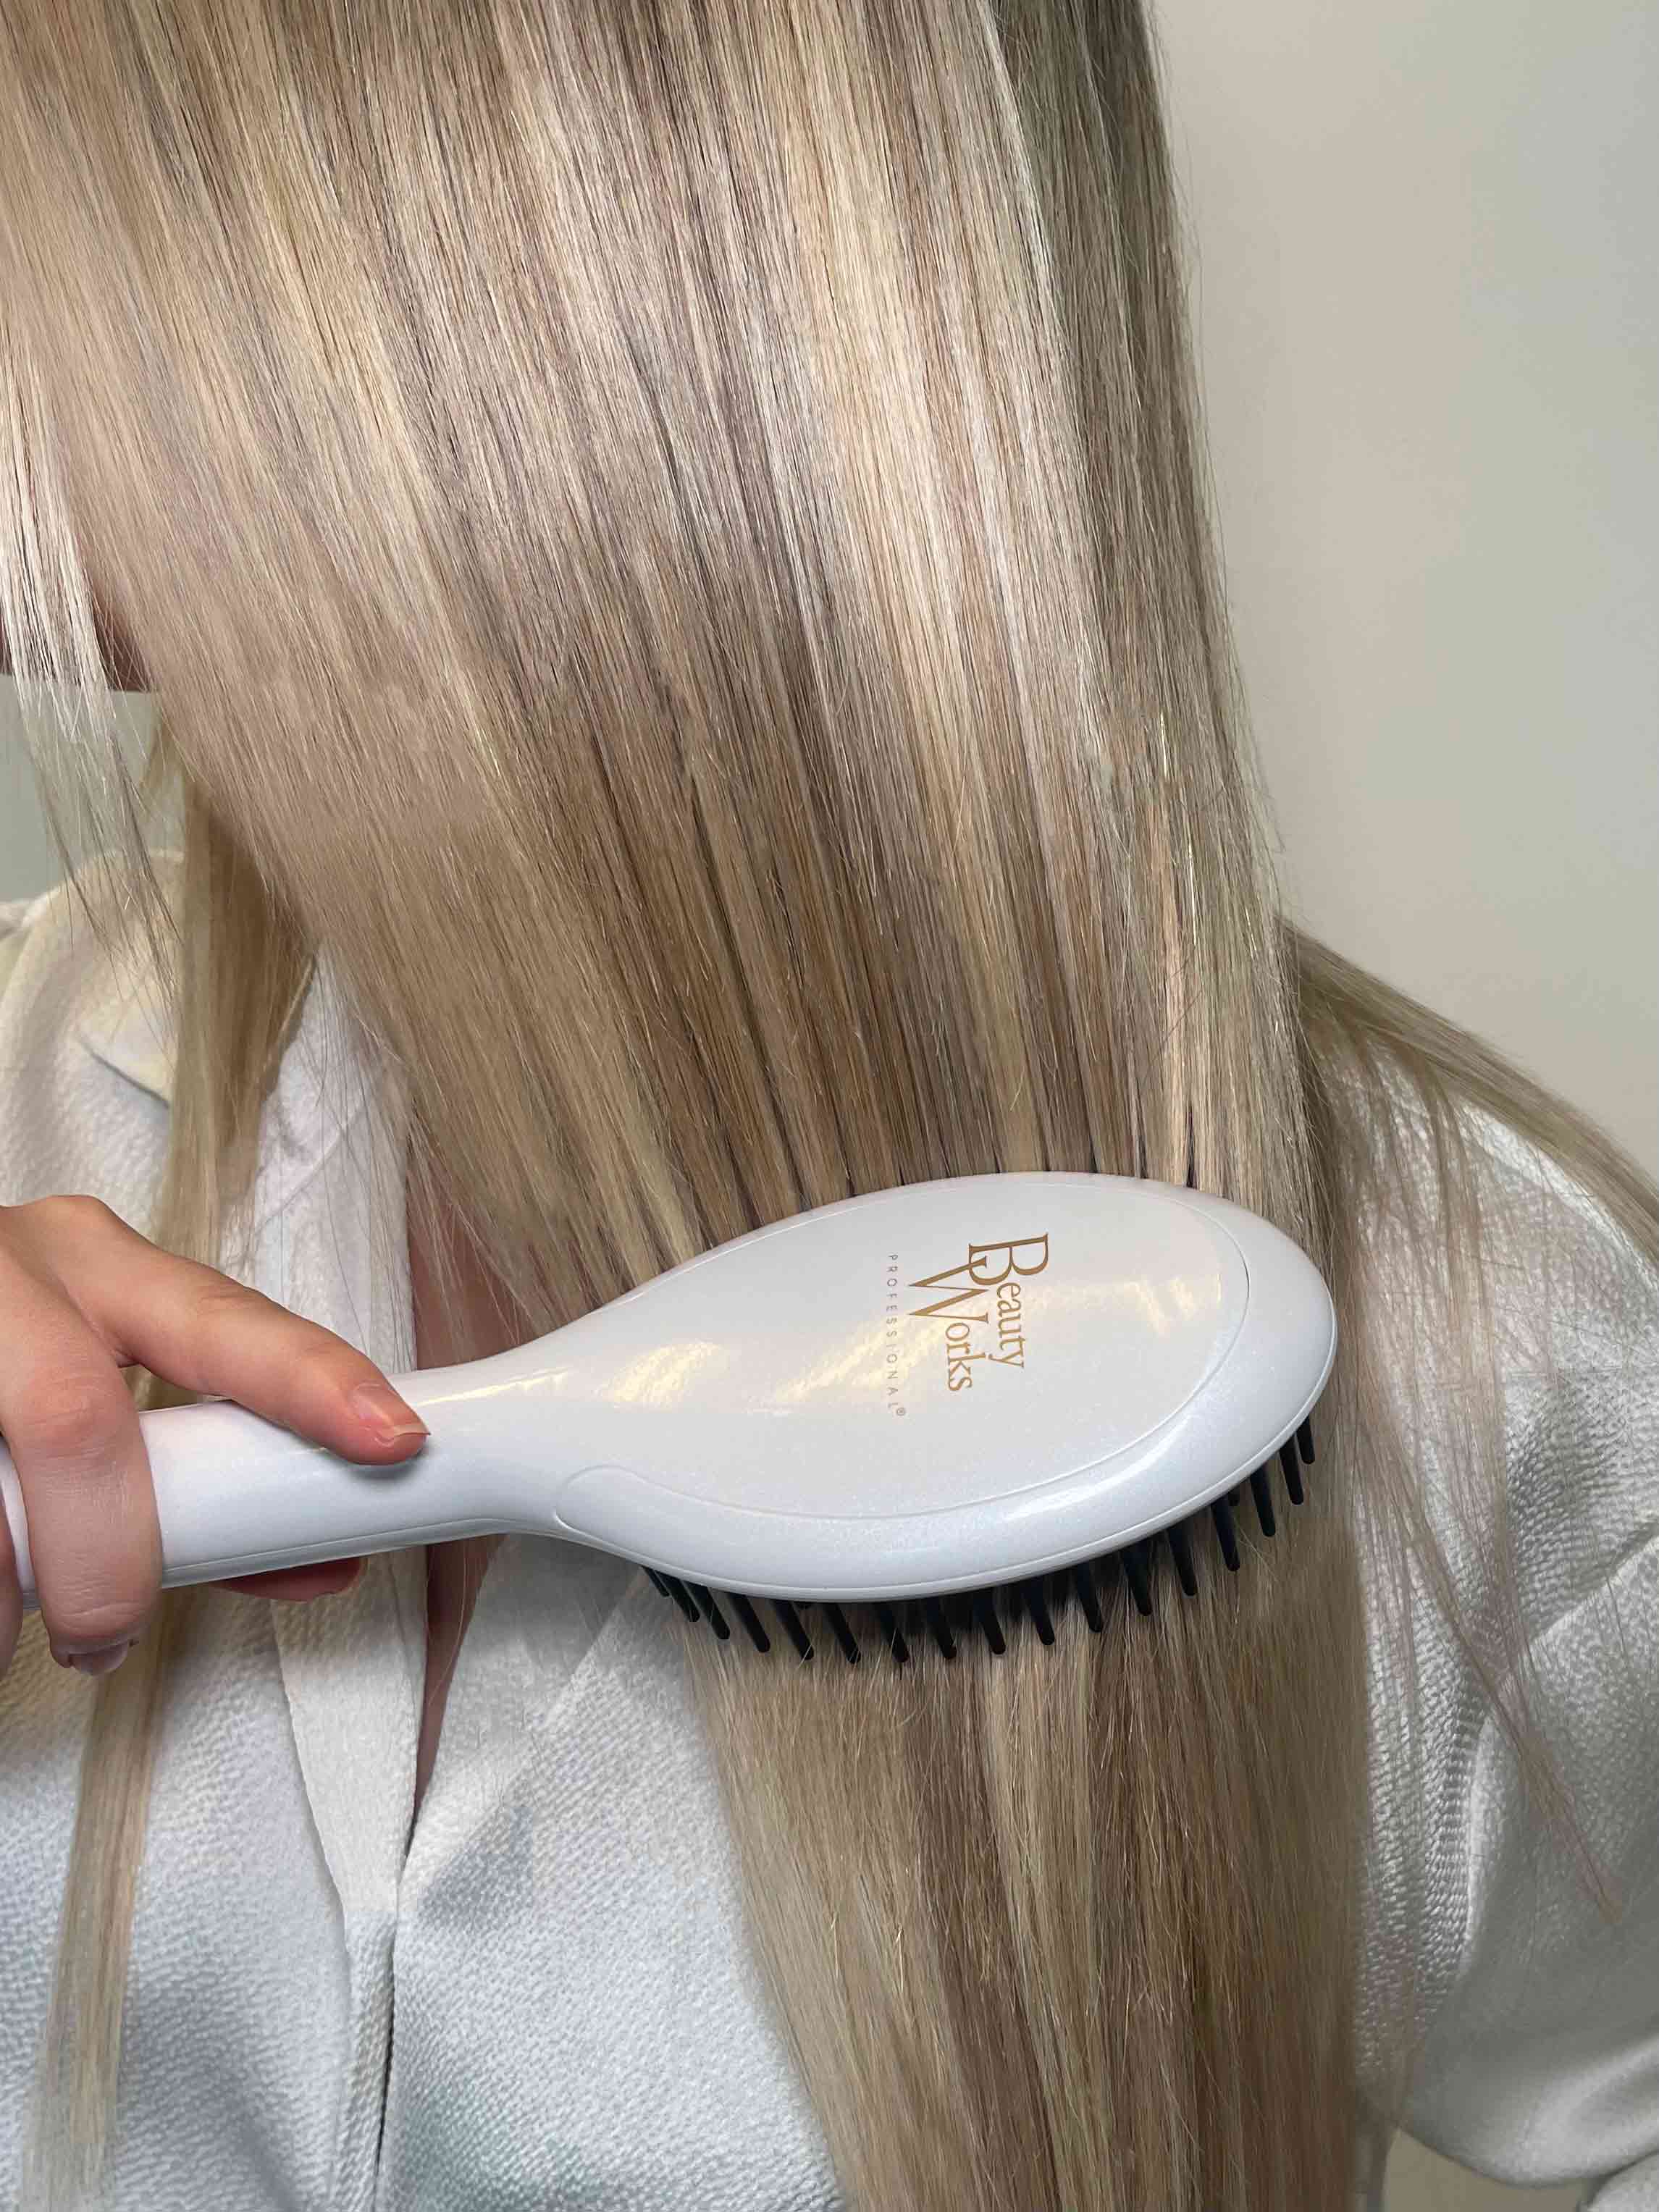
Once you have all of your extensions in, it’s time to style your hair for a super seamless blend. For instant sleek & straight locks, opt for our Speed Styler. Or style your hair with a Curler for an easy, flawless blend.
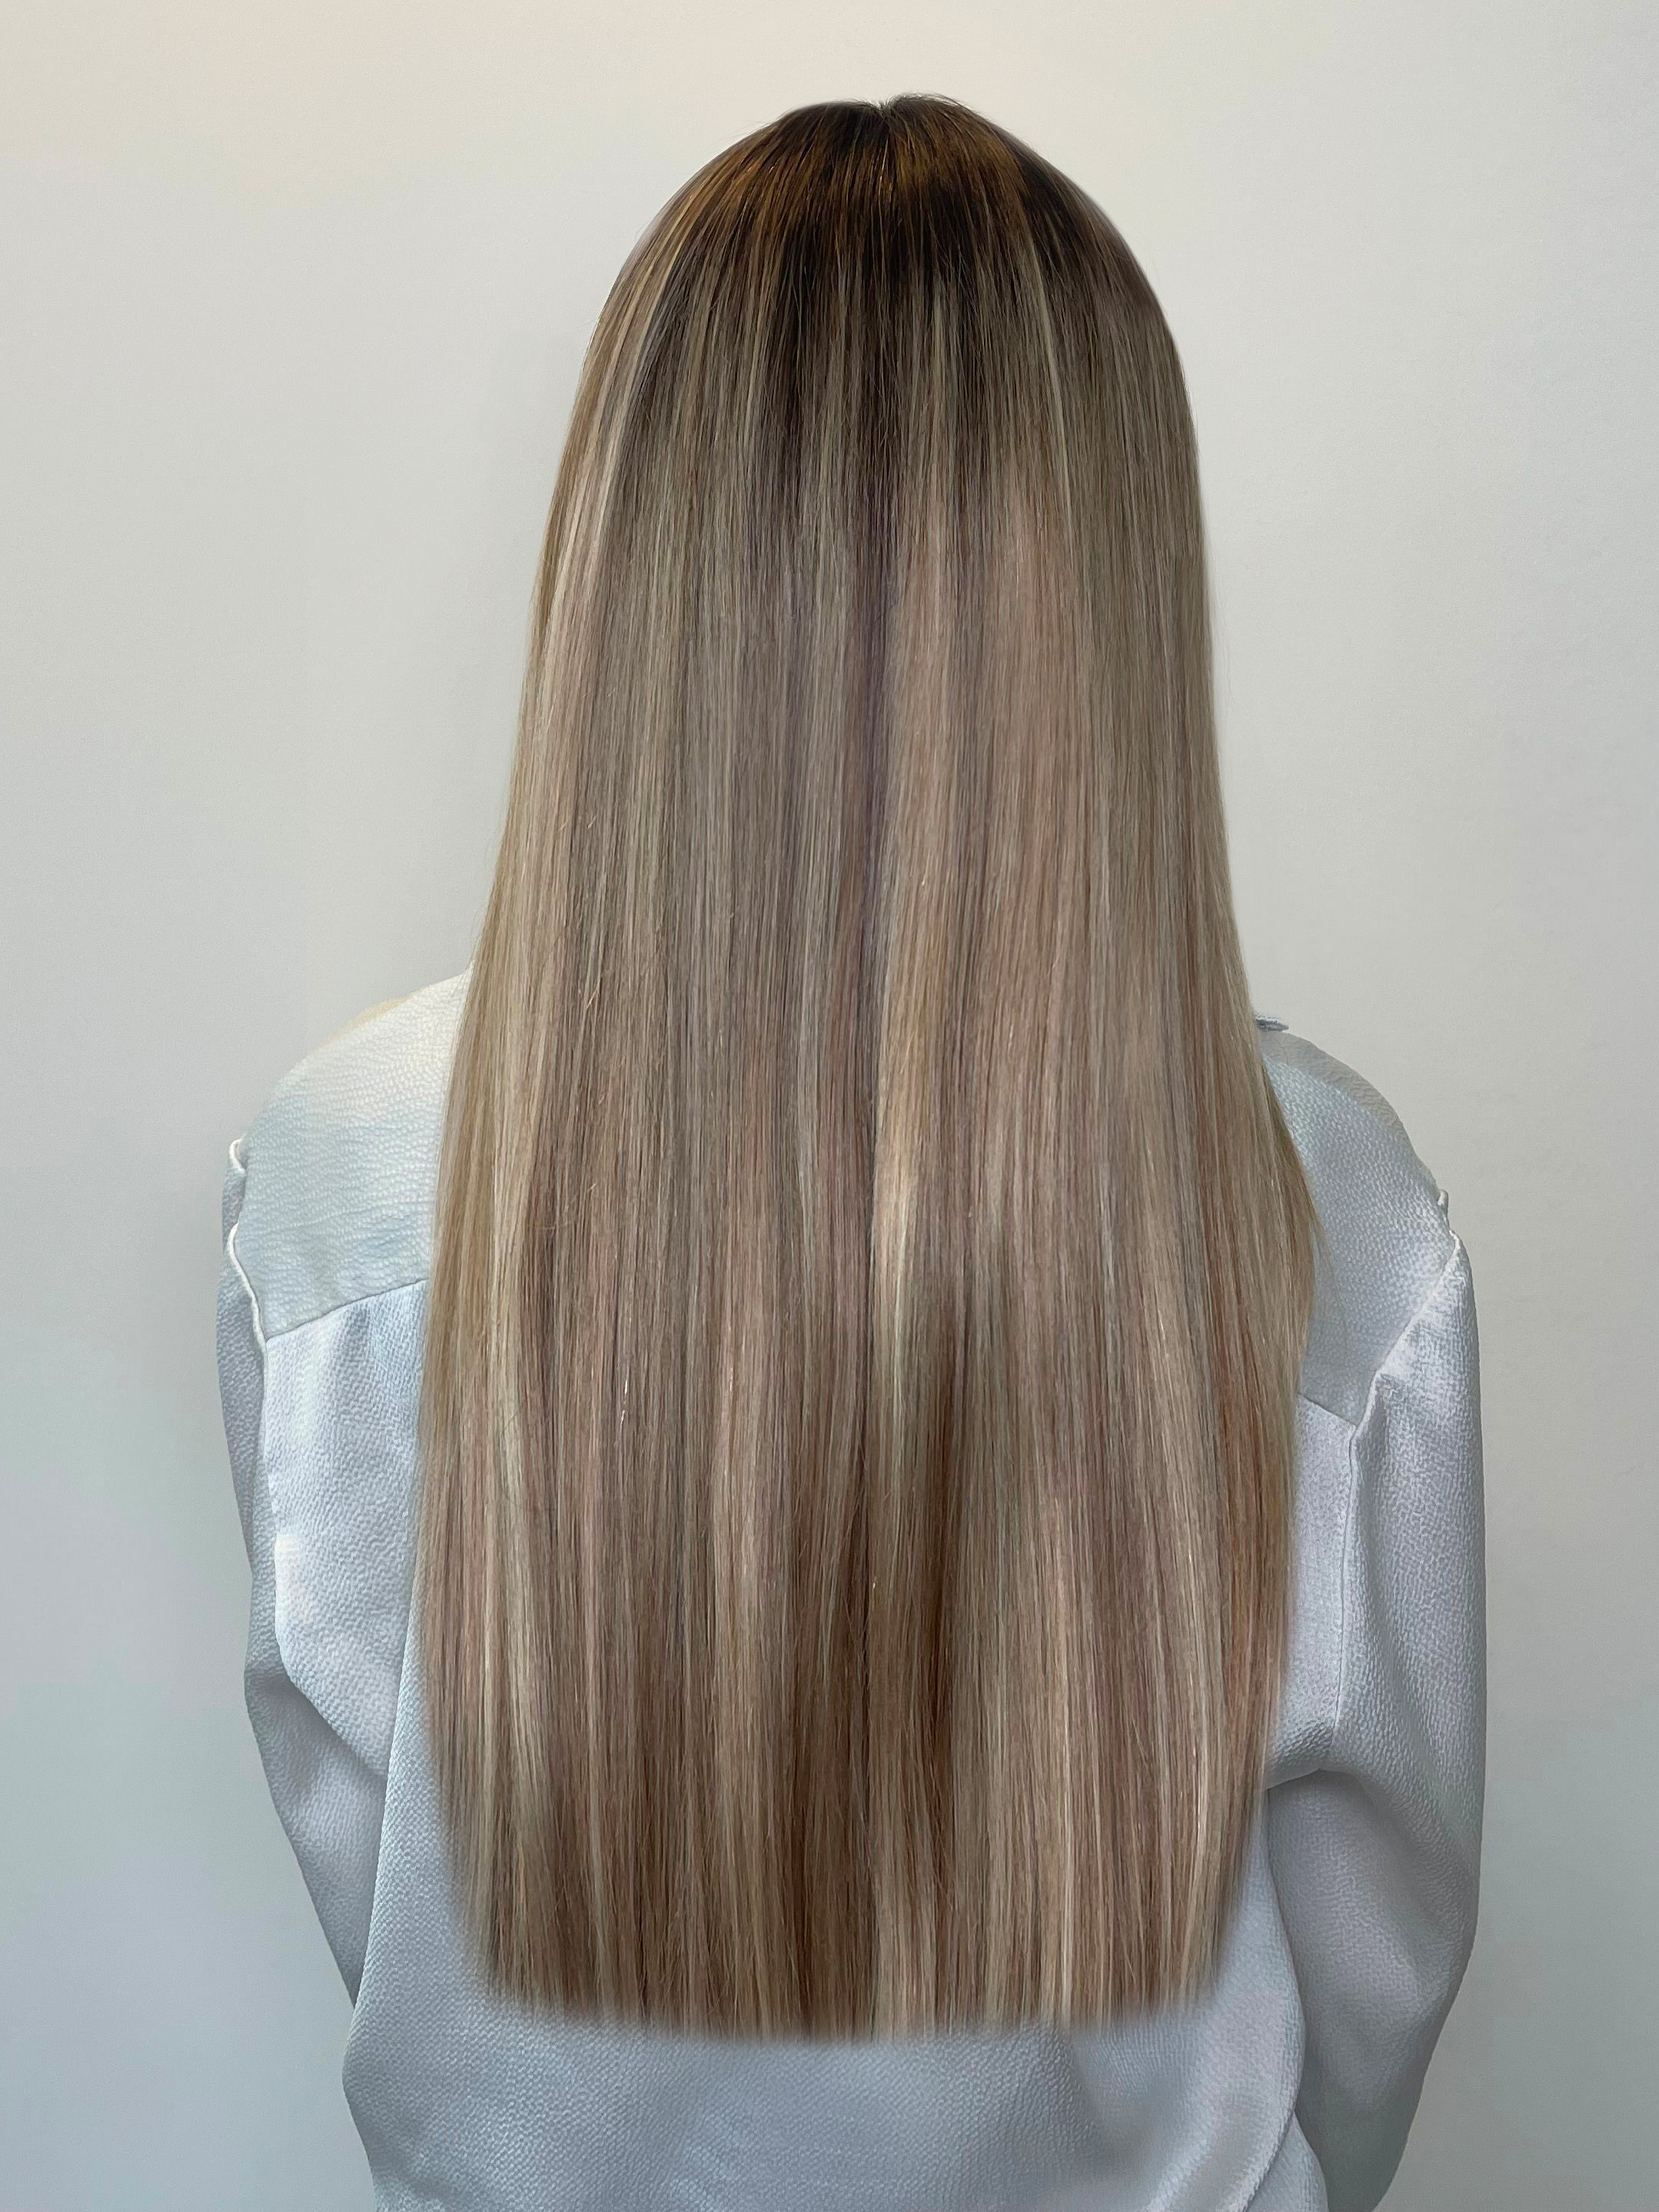
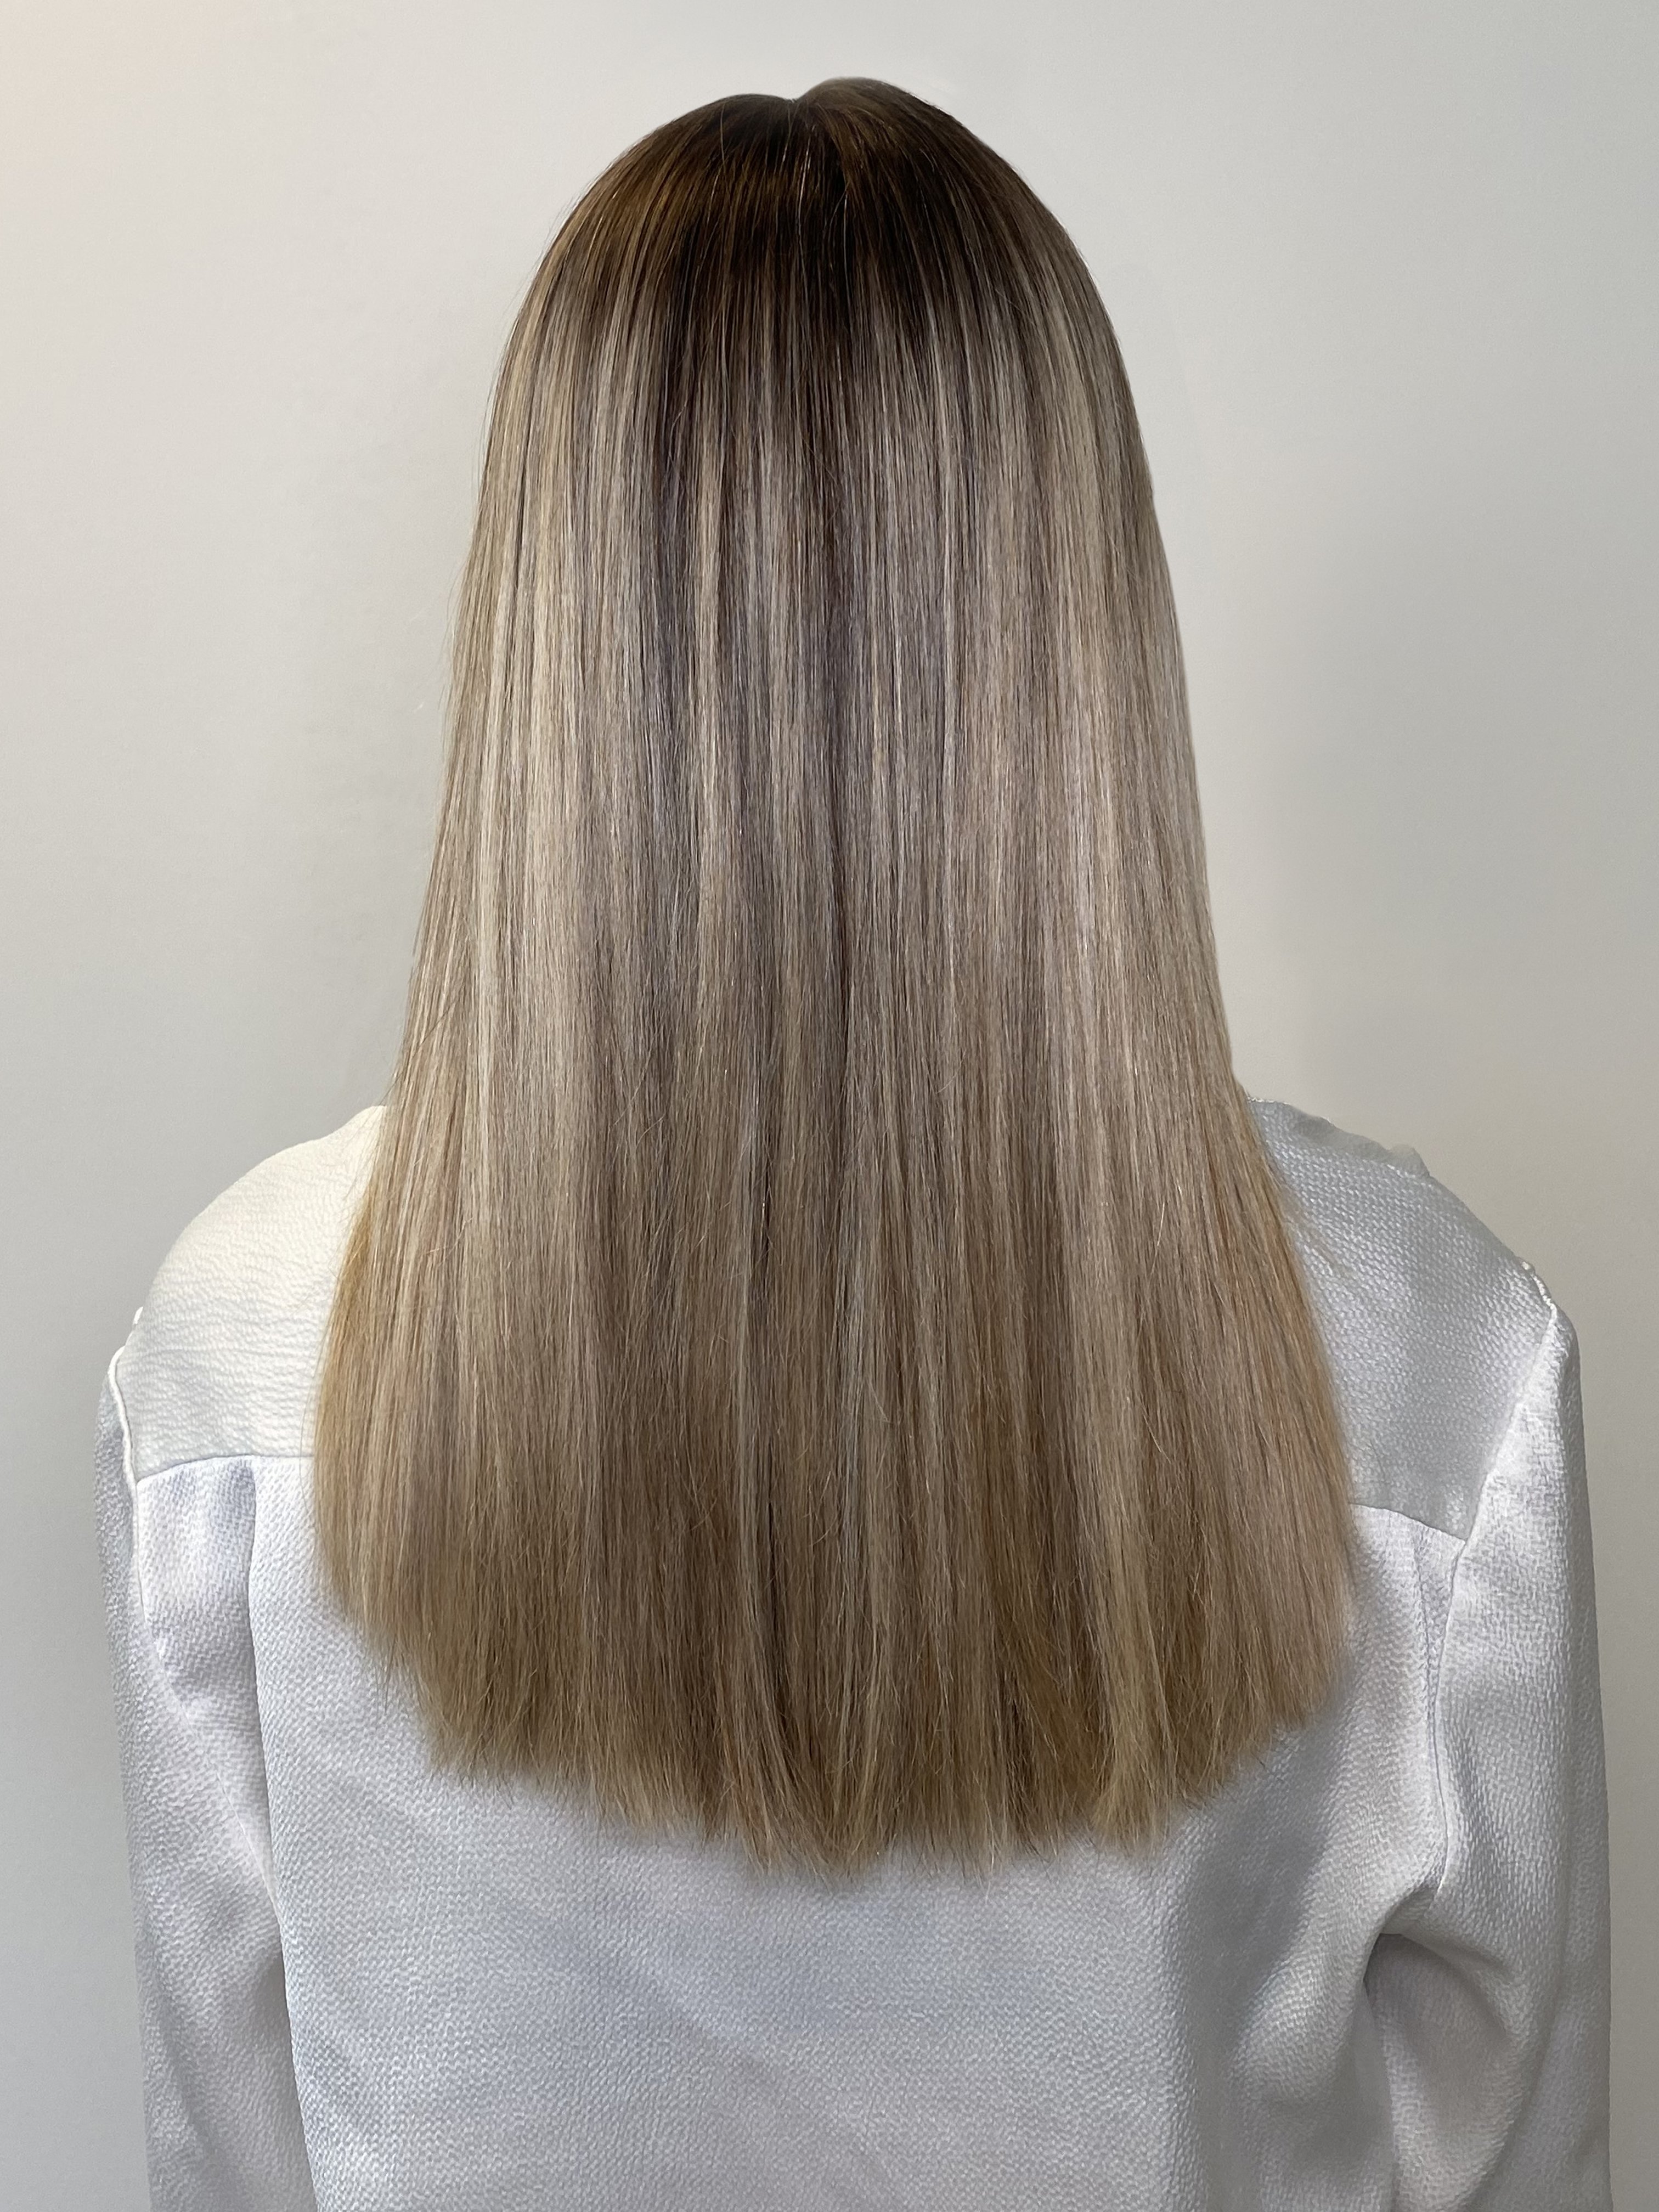
Nicole wears a 20" Double Hair Set in Shade 'Sunset Boulevard'.
We hope that helps! Shop our Clip-in Extensions now for an instant and easy hair transformation. To find out more about Clip-in extensions, read more here.


Related Posts
view all posts

Related Products
