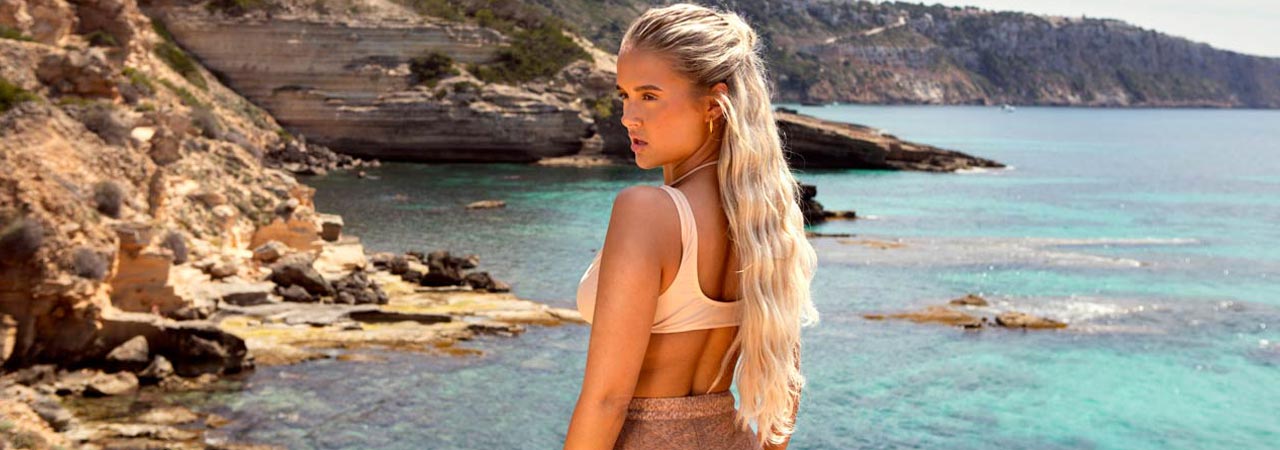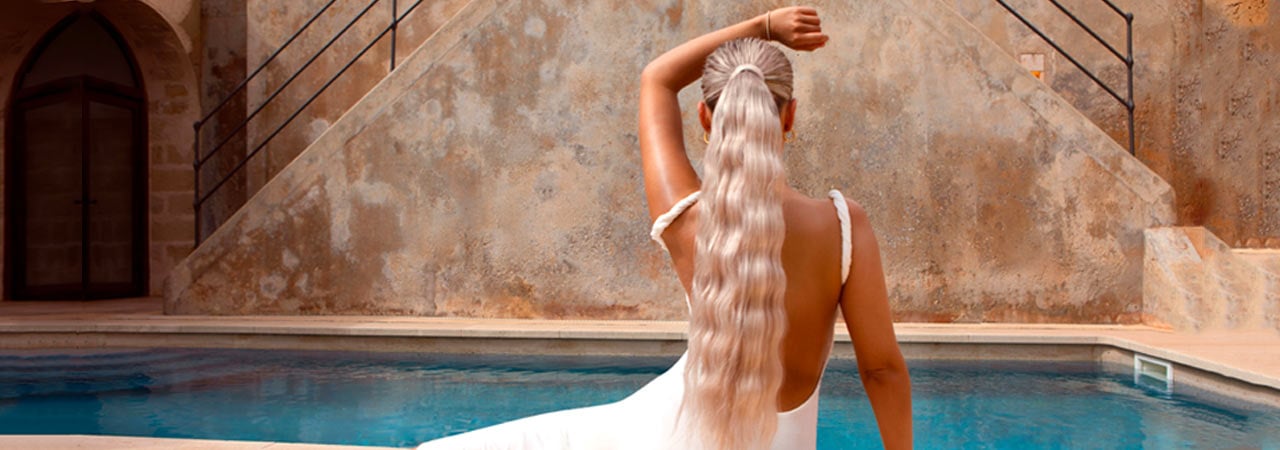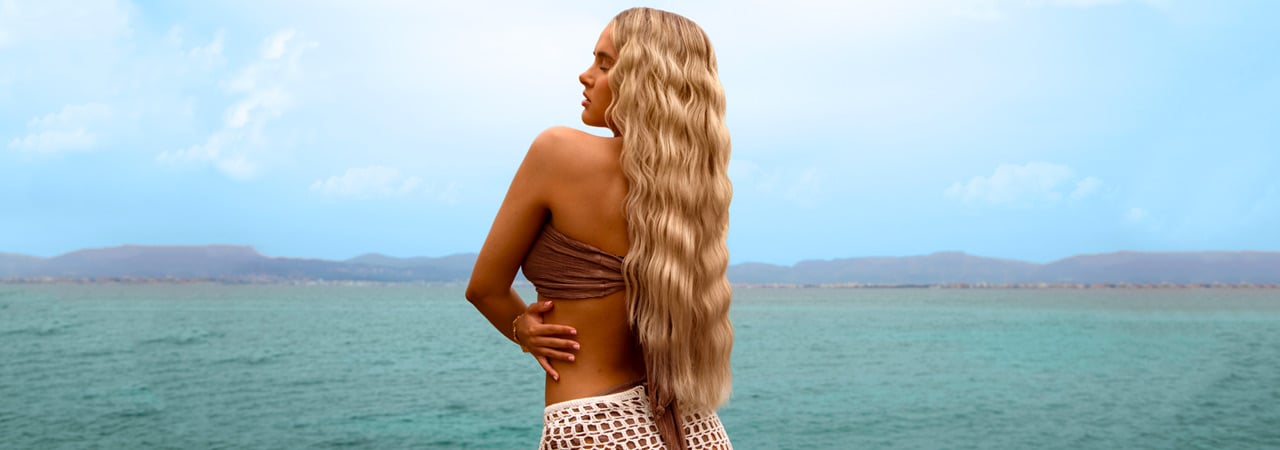
Love the beach wave look but not sure how to achieve it? Learn how to create Molly's signature defined mermaid waves, the trending new take on beach waves.
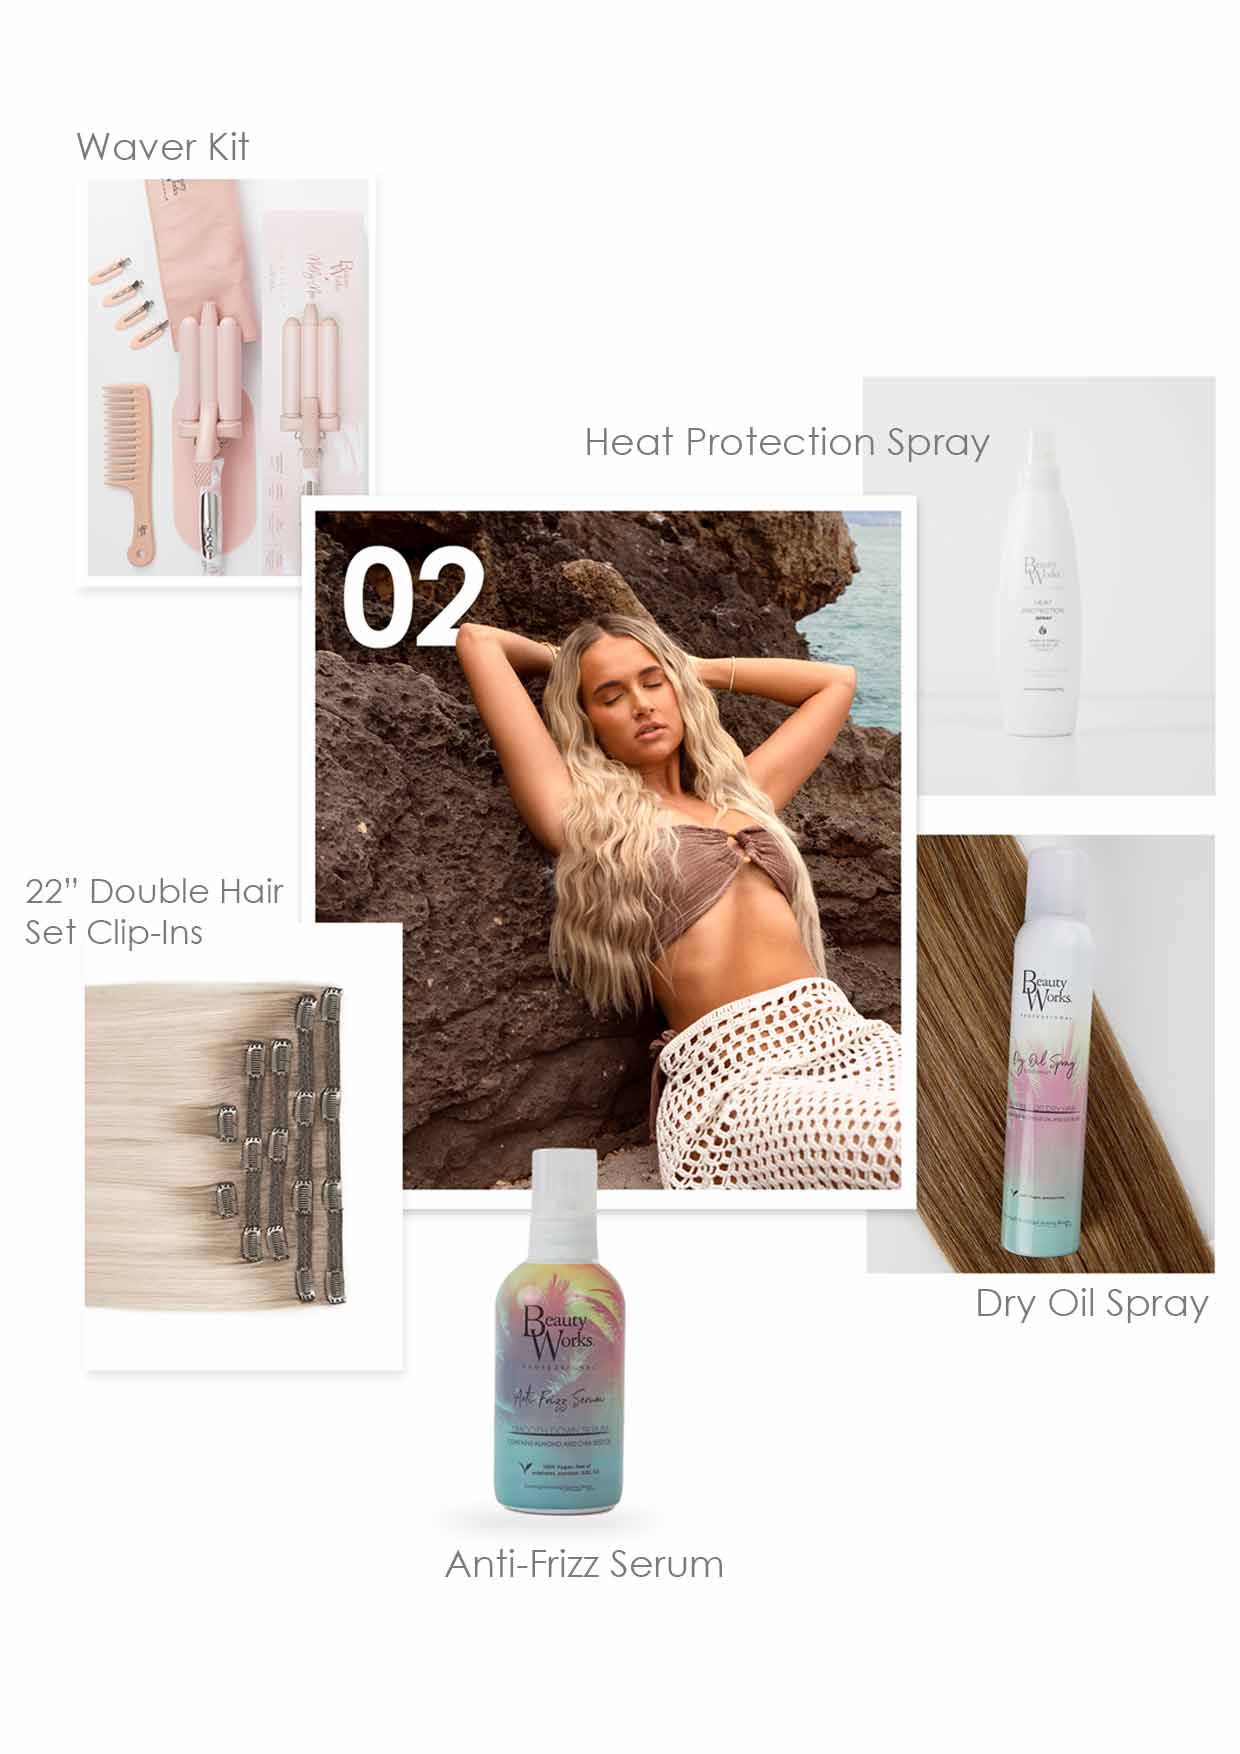
Products needed for this look
- Beauty Works x Molly-Mae Waver Kit
- 22” Double Hair Set
- Heat Protection Spray
- Dry Oil Spray
- Anti-Frizz Serum
Tips before you begin
- Any extensions can be used to create this look! It’s important to choose the extensions that are most suitable for your hair type and the desired length and thickness you would like to achieve.
- Molly’s favourite hair hack when creating this style is to flip the waver upside down to create a more defined look. This creates a smoother wave pattern at the top of each section, and is easier to follow the wave as you’re styling.
- You should always allow your waves to fully cool before combing through, to allow the style to set in place. This is key for long-lasting definition.
How to achieve mermaid waves: step-by-step
Follow this easy step by step tutorial to create Molly’s defined, mermaid waves.
Step 1 - Apply your Clip-in Extensions
Start by applying your clip-in extensions, Molly wears 22” Double Hair Set, however any length will work for this look dependent on the desired finish. For extra hold when clipping your set in, gently backcomb at the root and spray with Super Hold Hair Spray for extra grip, this creates an anchor for the extensions to clip onto.
Step 2 - Prep your hair with a Heat Protection Spray
Molly uses the Beauty Works Heat Protection Spray or 10-in-1 Miracle Spray. This step is even more vital when you’re in the sun as strong UV rays and high temperatures can dry out your hair, cause discolouration or breakage.
Step 3 - Style your hair with the Waver
Now you can begin styling your hair. The Waver is really simple and easy to use so you’ll be a hair pro in no time! Start by clamping the tool around the top of your section - take a 2-3 inch section at a time and hold for 8-10 seconds to create a deep, defined wave. The longer you hold each clamp, the tighter and more definition your beach waves will have. Repeat this and work your way down each section for an effortless mermaid mane!
Step 4 - Adding setting clips to define face-framing waves
Create defined face frame pieces by using the setting clips included in the Waver Kit on the front sections of the hair around the face. Insert the clips into the grooves of the wave, allowing the wave pattern to cool and set for a more defined finish.
Step 5 - Apply Anti-Frizz Serum
Definition is key with this look, so run through your finished waves with Molly’s go-to Anti-Frizz Serum. This creates sleeker, polished waves that will stay intact for longer, whilst deeply hydrating the hair to combat dryness from being in the summer heat.
Results
The best thing about styling your hair into defined mermaid waves is that the style lasts for days! Just make sure to comb through your hair (always use a comb instead of a brush as a brush will disrupt the wave pattern) and apply argan oil daily to maintain the wave definition.

That’s everything you need to know to create defined mermaid waves! Follow these simple steps to recreate Molly's signature hairstyle. Discover our range of triple-barrel hair wavers now to shop the look.